Chromecast is a casting device that enables you to cast or mirror all kinds of media from your smartphone or PC. There are tons of applications out there that are compatible with Chromecast. If not possible, then you can even screen mirror from your device. But some of the geo-block content and streaming applications like BBC iPlayer, Hulu, Peacock TV, etc., are not able to stream through Chromecast unless you have rooted your device. The rooting process is not that simple because it involves lots of hardware and software works. Follow the upcoming article to know how to root your Chromecast device.
Warning: Rooting Chromecast is not advisory. You should perform this task at your own risk.
Hardware and Software Requirements
Before rooting the Chromecast, several requirements need to be purchased and installed on your PC. It is a time-consuming process, and be careful while undergoing the process.
Hardware
- Teensy USB Development Board (Teensy 2.0 – $16 (or) Teensy++ 2.0 – $24)
- Externally powered USB OTG cable
- USB flash drive with a minimum storage of 1GB
- Micro USB cable
- USB mini cable
- AC Adapter for Micro USB cable
Software and files
Steps to Root Chromecast
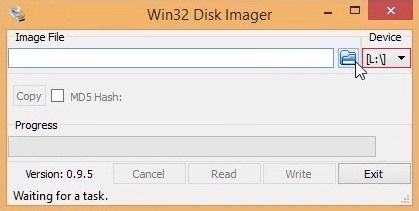
[1] Insert the USB drive on your PC and run Win32DiskImager as administrator.
[2] Ensure the right drive location was selected.
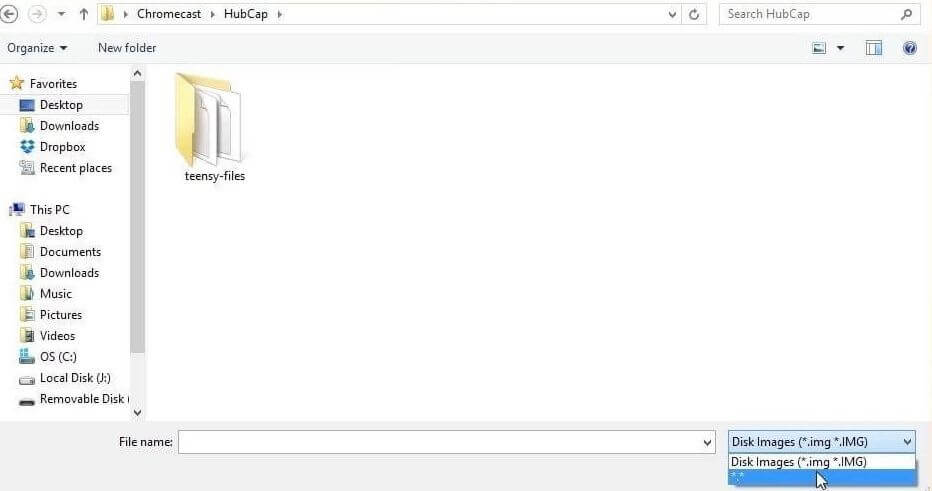
[3] Select the Hubcap folder on your device by clicking on the Folder icon.
[4] Change the file type to .img .IMG to *.* to view the file.
[5] Double click on hubcap-flashcast.bin to open.
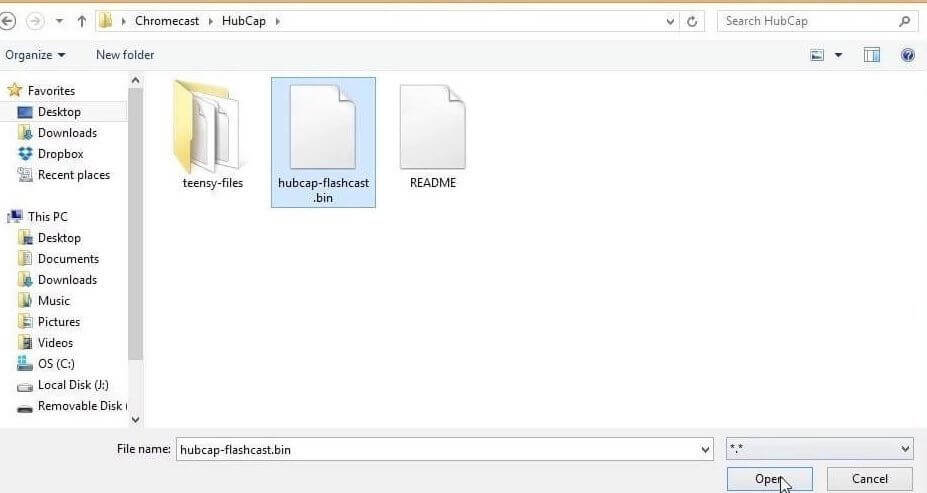
[6] Start writing the file to USB by clicking on the Write button.
[7] Once the process was completed, you will receive a confirmation message.
[8] Eject the Flash drive from your PC.
Install HubCap on Teensy
[1] With the help of USB Mini cable, connect Teensy.
[2] Install Teensy.exe file and launch the app.
[3] Click on File and choose Open HEX File.
[4] Select the file with 12940 for new Chromecast device and 16664 for used or older ones.

Note: In this folder, the file name prefixed with plusplus represents Teensy++ and the regular ones indicates Teensy 2.0.
[5] Once selected, press the button on Teensy USB Development board found below the flashing blue light.
[6] Click on the second icon (down arrow) to start the process.
[6] You will receive a pop up stating Download complete.
Setup Teensy with Chromecast
[1] Connect the Teensy device to the mini USB cable.
[2] Connect the other end of the mini USB to the USB OTG.
[3] In the OTG, connect one end to the power supply and other end to the Chromecast device.
[4] Now, reset your Chromecast by long-pressing the respective button.
[5] Hold the reset button until the stop flashing.
[6] Once stopped, disconnect Teensy and the USB Mini cable from OTG.
[7] Then, plug the USB Flash drive in the empty slot.
[8] Press the reset button once to start the rooting process.
[9] It will take sometime to complete the rooting process and you will be notified once it was completed.
[10] Now, you have successfully rooted your Chromecast device.
How to Verify Whether Chromecast Root is Working
[1] Launch the Google Home App and connect it with your Chromecast device.
[2] Scroll down and find the IP address of your device.
[3] Open browser on your device and make sure it connect to the network in which the Chromecast device is connected.
[4] Enter the Chromecast IP address in the search bar.
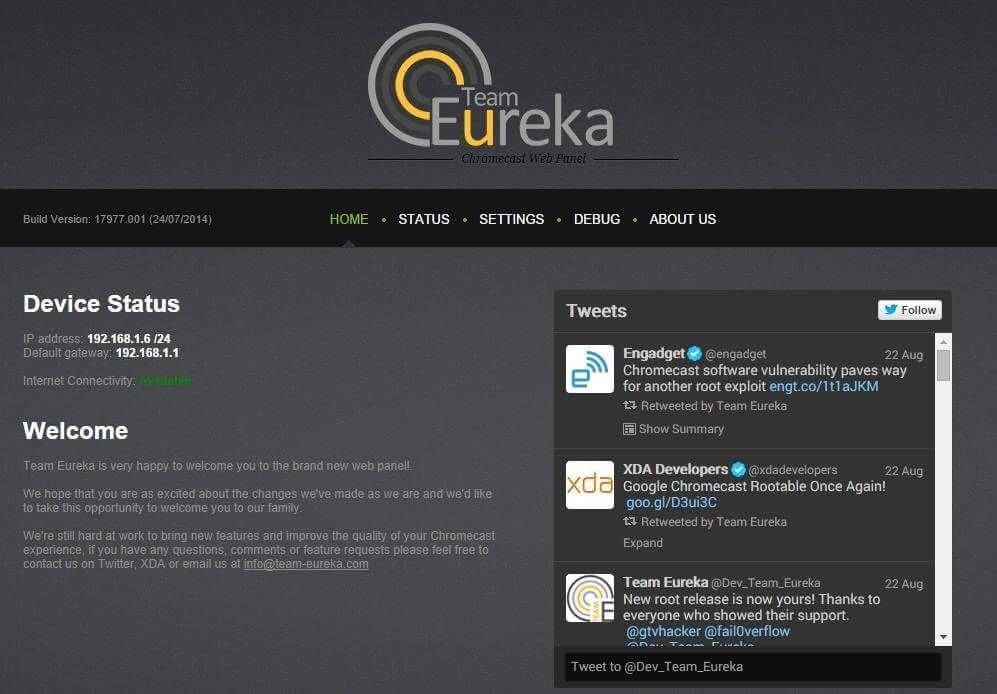
[5] If you see Eureka ROM’s settings page, the device have been rooted successfully.
Regardless of the Chromecast version, the above mentioned guide will help you to root the device. As we said earlier, we don’t recommend our users to root the device. Hence, we aren’t responsible for any error or issue while following the rooting process.