Google Chromecast is a media streaming adapter that allows you to play online content from your smartphone to your TV screen. It is one of the most innovative and cost-effective ways to stream content on older TVs. If you just got your Chromecast, you first need to set up the Chromecast on your TV to start using it. The setup of Chromecast can be done without remote using the Google Home app. From Chromecast Gen 1 to the current models, the set up process is more or less the same and very easy to do.
During the setup process, you will be naming the Chromecast device, connecting it to a Wi-Fi network, and other processes to start casting your smartphone screen to your TV. In this article, we have created a detailed guide on how to set up Chromecast and Chromecast with Google TV.
How to Set Up Chromecast
Follow the procedure given below to set up Chromecast with your TV. To set up Chromecast without a remote, we can install
1. Plug the Chromecast into the HDMI port of your TV and plug the USB cable into Chromecast and a compatible USB port or power outlet.
Note: Chromecast Ultra should be connected directly to the wall outlet to get sufficient power.
2. Download the Google Home app on your smartphone from Google Play Store or Apple App Store.
3. Open the Google Home app on your smartphone and click the + icon in the top left corner.
4. Select Set up device and select New devices.
5. Enter the nickname and address of your home and click Next. Click Allow to grant location access to the Google Home app.
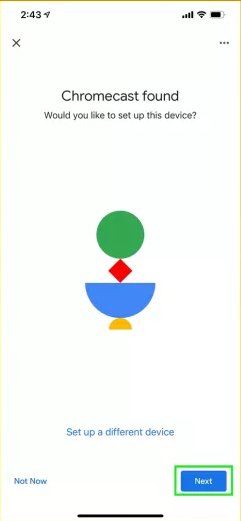
6. Now, the Google Home app will search for your Chromecast device. Once the Chromecast is discovered, click on Next to proceed with the setup.
7. Select Yes to confirm the code displayed on your screen and click I agree to the Additional Legal Terms.
8. Click the Yes, I’m in option to share your data with Google, or else click No thanks.
9. Select the room where your Chromecast is in.
10. Connect your Chromecast device to your WiFi network and click Next.
11. Your Chromecast will install the latest update and restart to apply the updates.
12. Click Continue on Linking your Chromecast and click Next to Set up Google Assistant on your Chromecast device.
13. Add or skip the Link radio service option. Click Sign Up to get newsletters on Google hardware.
14. You will finally reach the All Done page, click Continue to finish the process.
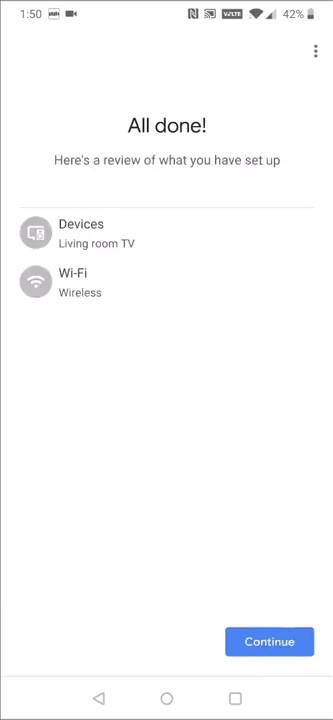
Thats it. The Chromecast setup process is now complete.
How to Set Up Chromecast with Google TV
Follow the procedure given below to set up Chromecast with Google TV. To set up Chromecast without a remote, you can install the Google Home app on your Android smartphone or iPhone.
1. Plug the Chromecast with Google TV into the HDMI port of your TV and plug one end of the USB cable into Chromecast and the other end into a power outlet.
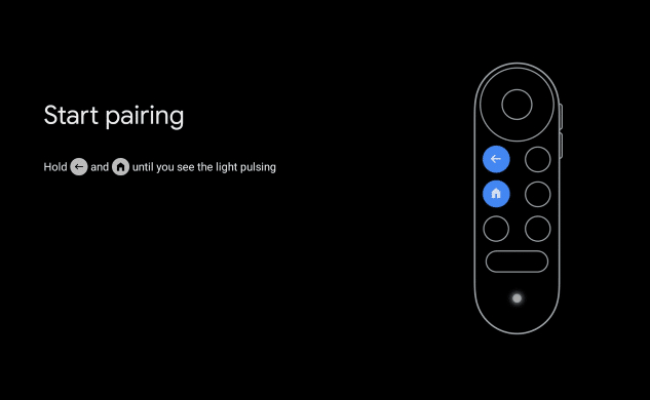
2. Now, press the Back and Home buttons on the Chromecast remote as you see on the screen.
3. Select the language on the Chromecast device.
4. Download the Google Home app on your smartphone from Google Play Store or Apple App Store.
5. Open the Google Home app on your smartphone.
6. On the Google Home app homepage, click the + icon, and select Set up device.
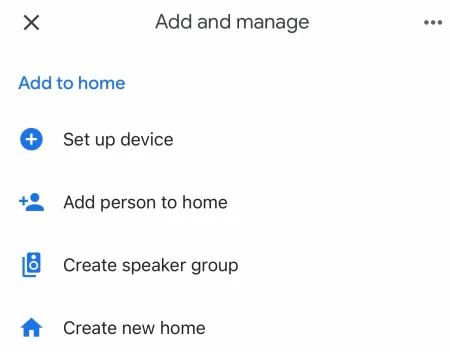
7. Select Chromecast from the list of nearby devices and click Next.
8. Grant camera access to the Google Home app on your smartphone and scan the QR code that appears on the screen.
9. Agree with Google’s terms and conditions and select the location of your Chromecast with Google TV.
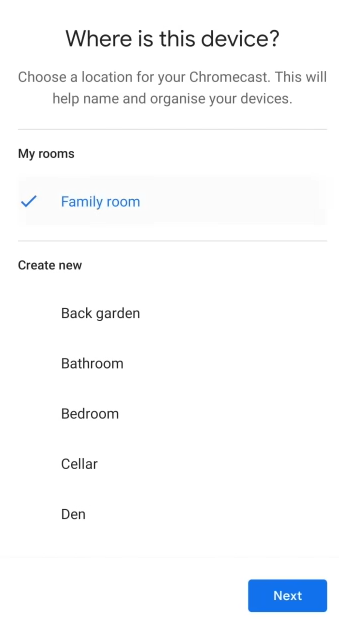
10. Give a name to your Chromecast device and connect your Chromecast to the new Wi-Fi network and click Continue.
11. Sign in to your Google account and choose whether or not to share location and diagnostic data.
12. Click Allow to grant permission for Google to connect with TV apps and click Continue.
13. Enable or disable the Voice Match feature and link apps and services that you use.
14. Choose between Google Photos or Art gallery for the screen saver.
15. Based on your choice, Sign up for newsletters on Google hardware and complete the setup of your Chromecast with Google TV.
How to Setup Chromecast from PC
As of now, there is no direct way to set up Chromecast using a PC, laptop, or Mac. The Google Home app is not available for Windows or MacOS to set up Chromecast devices.
Now, you can cast all the Chromecast-supported apps on your TV. Just open the app and tap on the Cast icon, and your Chromecast device will appear, select it. The content will appear on your TV via Chromecast. Before casting anything, connect your smartphone to the WiFi network to which the Chromecast is connected.
FAQ
No, you can’t use any extensions or plugins to set up the Chromecast on your TV. Google Home app is the only way.
Yes, you can set up the device to a Hotel TV. If the TV has an HDMI port, you can connect the Chromecast to any TV.
Plug in Chromecast Audio, open the Google Home app, and Set up the device. Follow the on-screen instructions to complete the set up process.




Leave a Reply